Digital Photography can be a bit of a minefield, but the Apple Mac is probably the best computer with which to master this complex art. Bundled with Mac OS X is a very useful little application called iPhoto which, although simple to use, can be quite difficult to gain the best from. This page documents some of the hints and tips I've discovered through my experience of using iPhoto.
This can be quite a poser, especially if you've taken a selection of photos at different resolutions on a digital camera and want to print them and include in a standard sized photo album.
First, transfer the photos from the camera to the Mac and import into iPhoto.
iPhoto has an option to print out 6x4 print size, but the thing to bear in mind here is that it will scale the original image to fit this size, so if the aspect ratio is not quite correct, the final output may have a border at the top or side. Luckily iPhoto has a handy facility to crop the image.
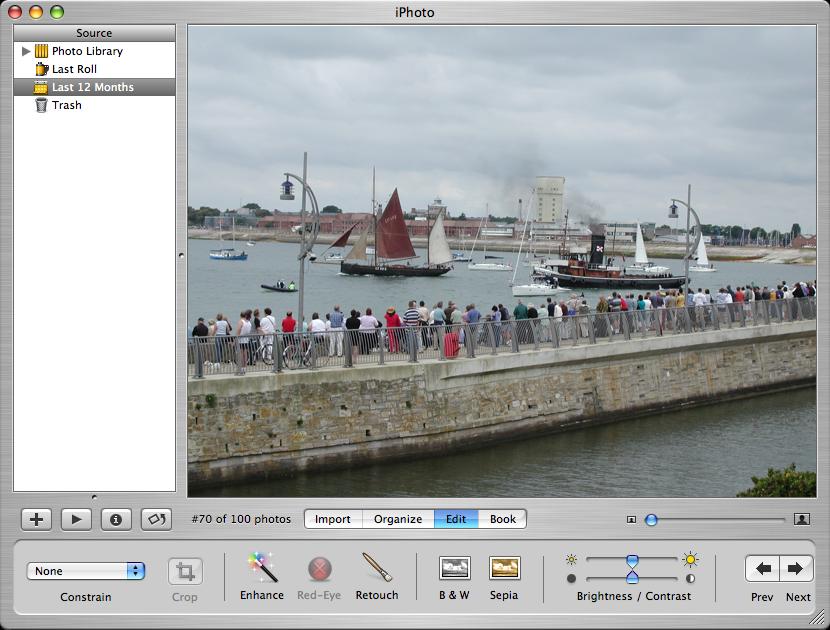
Select the image you want to print and click on the 'Constrain' menu, in the bottom left corner of the edit picture screen.
Select the size you require from the drop-down menu. For our example, you want to select 4 x 6 (Postcard) but there are plenty of other preset sizes available. This will highlight the portion of the image included within the chosen size - the rest of the image will be greyed out (fig.2, below).
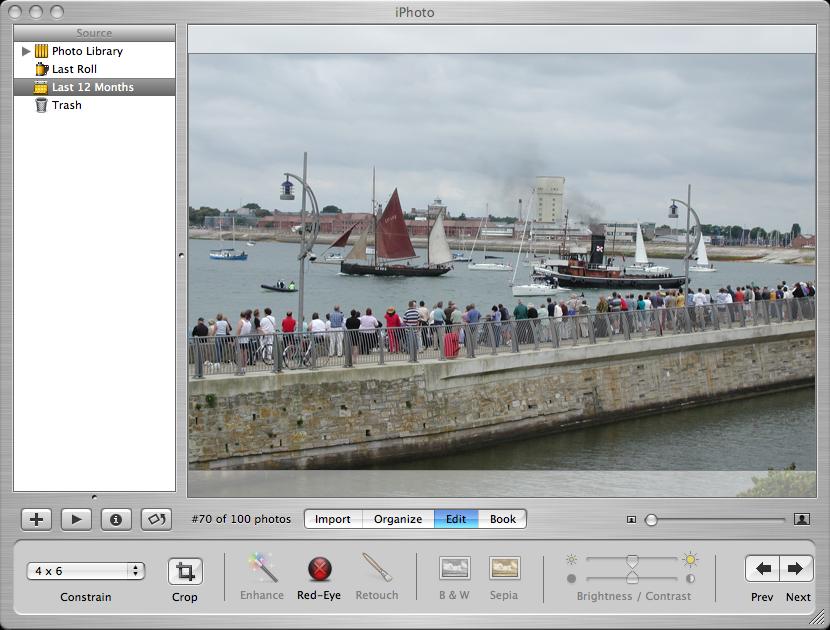
You can click and hold down the mouse button on the image in order to move the crop area around. For instance, you may want to crop just the bottom of the image (fig.3).
When you are happy with the section you want to print, click the Crop button in the control panel at the bottom in order to actually crop your image down to the required size.
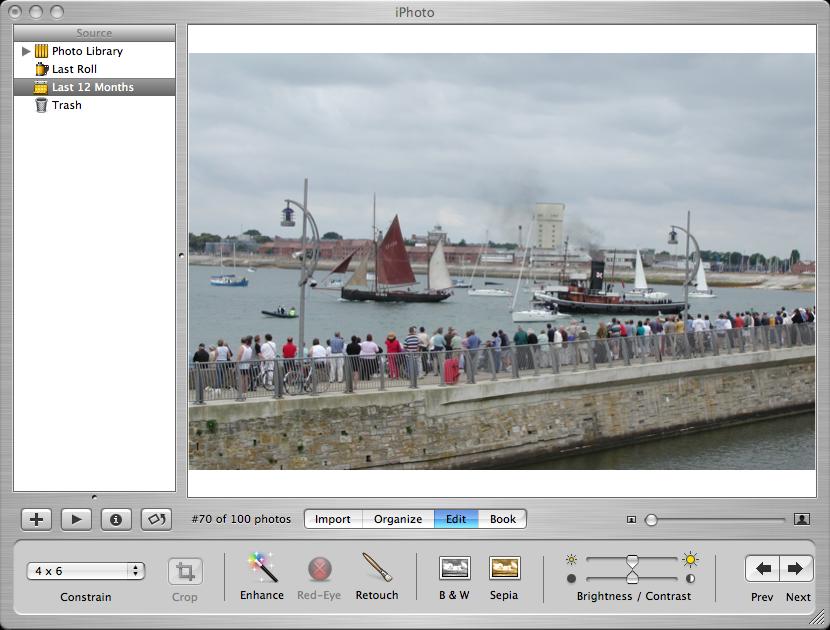
When cropped, iPhoto will add a white border around the image. This is not part of the image itself though, just the background around the display window. The cropped photo is now stored within your photo album.
Note however, that iPhoto permanently stores the original image from the camera, so at any point you can destroy your changes and get back the original, unaltered original simply by selecting the Revert to Original option from the Photos option on the main iPhoto menu.
You are now ready to print your photo.
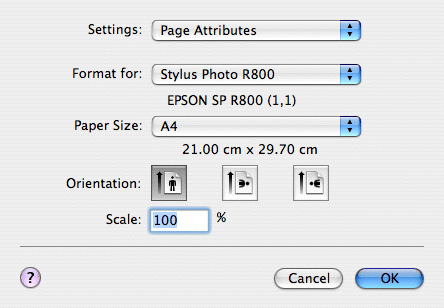
Before you print your photo, ensure that you have the correct page size set - I'm assuming you're printing on A4 sized photo-quality glossy paper here. Select the Page Setup... option from the File main menu option.
Ensure the Paper Size: is set to the physical size of the paper you are using.
Click OK and you're ready to print.
Selecting the correct Print options
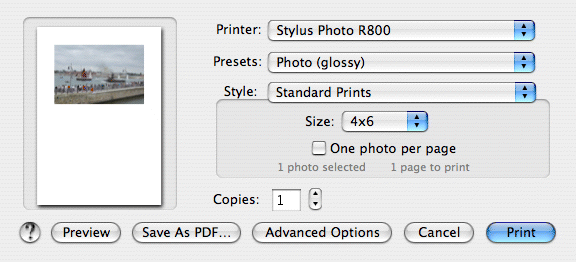
First off, click on the Style: option and select Standard Prints which will allow you to set the size required from the small Size option which appears below the style setting.
Now click on the Advanced Options button at the bottom. The print dialogue window will change to give you a selection of additional options, the default being 'Copies & Pages' (fig.6).
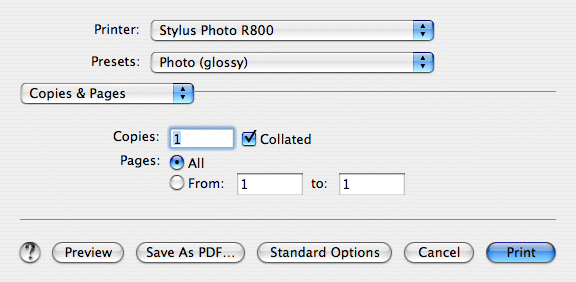
Clicking on the 'Copies & Pages' option allows you to select various other advanced print options.
Select these one at a time and the main panel of the window will update to reflect the various facilities available to you.
Three areas you may want to adjust are ColorSync, Print Settings and Color Management.
ColorSync
- you may wish to select Lightness Increase from the 'Quartz Filter' menu. This will make the resulting print lighter, which is useful to compensate for darker images or images with dark background and high contrast.
Print Settings
- Be sure to set the correct Media Type for your paper. Having an Epson printer, I generally select Premium Glossy Photo Paper. Selecting the wrong option for the paper you're using can have quite dramatic effects on the quality of your final print out. Adjust the remaining options to suite your requirements.
Color Management
- Allows you to adjust the colour balance and gamma settings of the final printout. These are probably best left as the default unless you want to experiment to find the optimum settings for your individual photos. The Mode allows you to select various printer specific colour options; for my Epson, it allows 'Standard' or 'Vivid', the latter of which adds more blue/green to make the image a bit more vivid, but can give bleaching effects on skin tones depending on the composition of the image.
When you're happy with all the options, make sure you have some paper in the printer, then click on the Print button to start printing.
|
| ||||||||||||||||||||